Knitting a First Sweater, Warnings, Ideas and Suggestions

After fiddling around with dishcloths, hats and scarves for a while, and getting basic stitches learned, I needed a bigger knitting project. I yearned to make a sweater just like all those pretty knitted sweaters I was seeing everywhere online.

I tried to find out as much information as I could before choosing the pattern. I read blogs, Ravelry pattern reviews, and visited the forums, but I still felt indecisive. What type should I choose? A top down, or bottom up? Cardigan or pullover? Plain or colorwork? I had done a bit of colorwork and liked it. A cardigan seemed like too much to handle with button bands, buttonholes and buttons! So, I chose a bottom-up pullover with some colorwork at the top by a designer I’d seen mentioned quite a bit, and bought the Umpqua sweater pattern by Caitlin Hunter.

Here’s a hint, you will figure out what you like best after you begin knitting sweaters! The trouble is, sweater knitting is expensive because of the amount of yarn needed. Also, often many different needles are required. Be ready to spend money. I knit a lot of sweaters I didn’t like to get to this point!

Learning From Beginner Mistakes

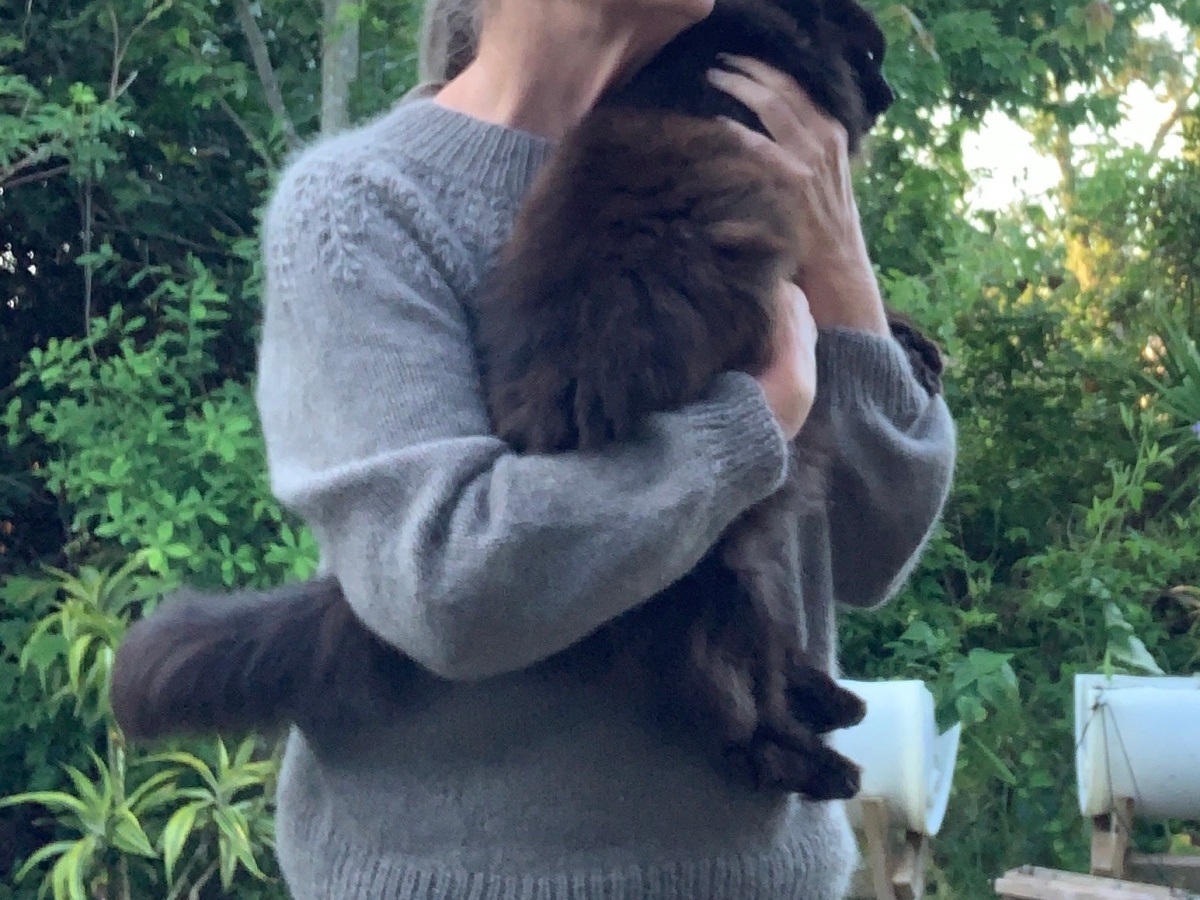
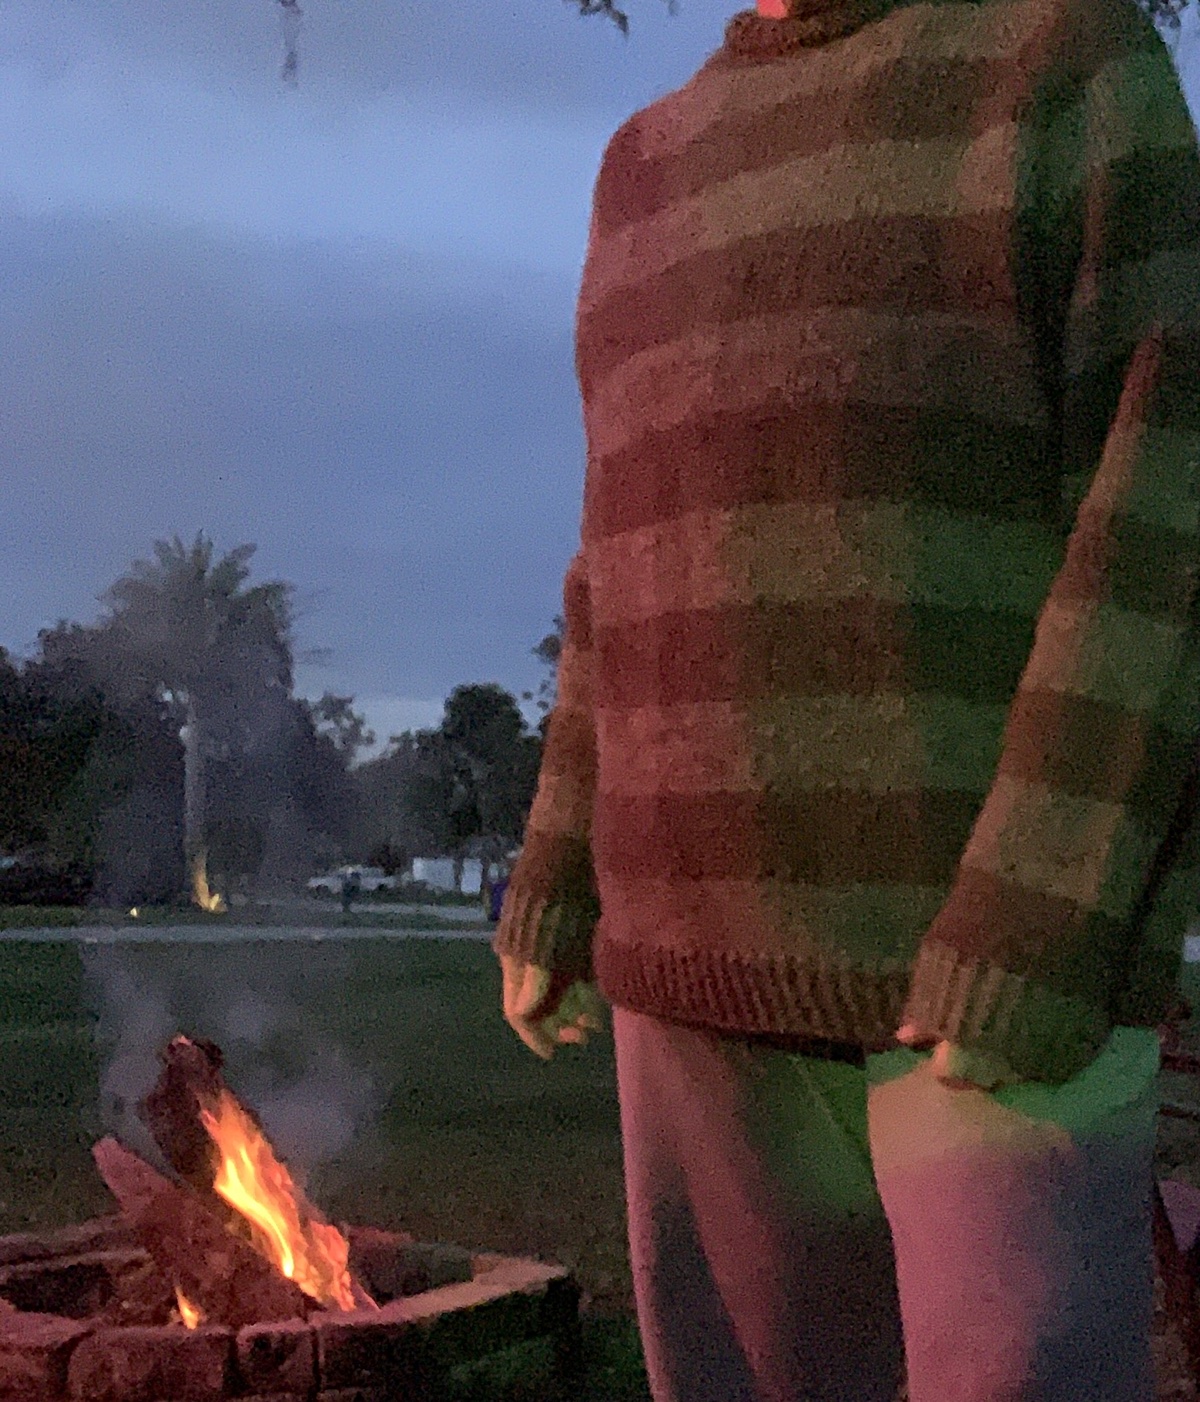
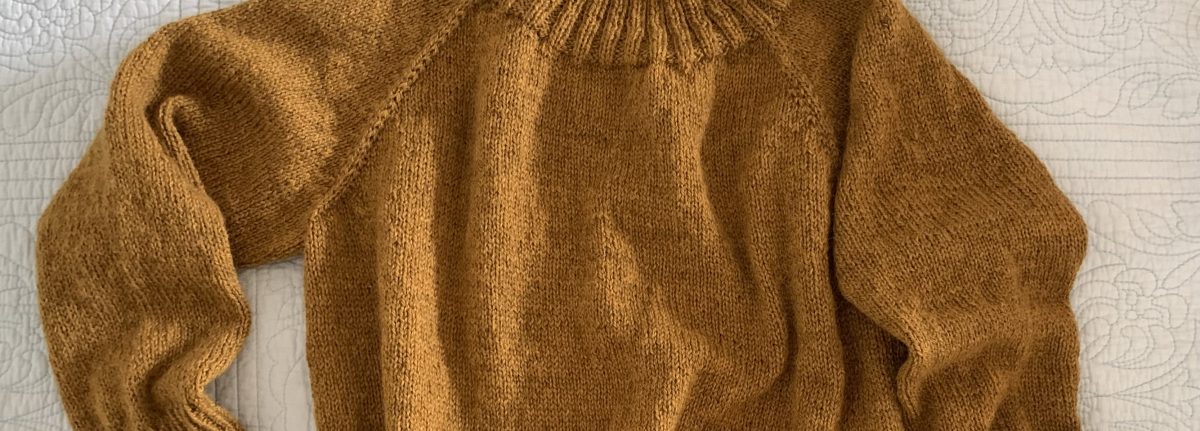
Here I am (below) wearing my Umpqua sweater. It has a lot of problems, because I really had no idea what I was doing.

Me in my Umpqua hand-knit sweater
Wearing my Umpqua sweater

First of all, the pullover is huge! The yarn I used was Superwash merino. Superwash yarn will stretch when washed, and that is what this sweater did. It was horrifying. I now knit with wool when sweater knitting, unless making something for a child or baby (which I have few reasons to do).

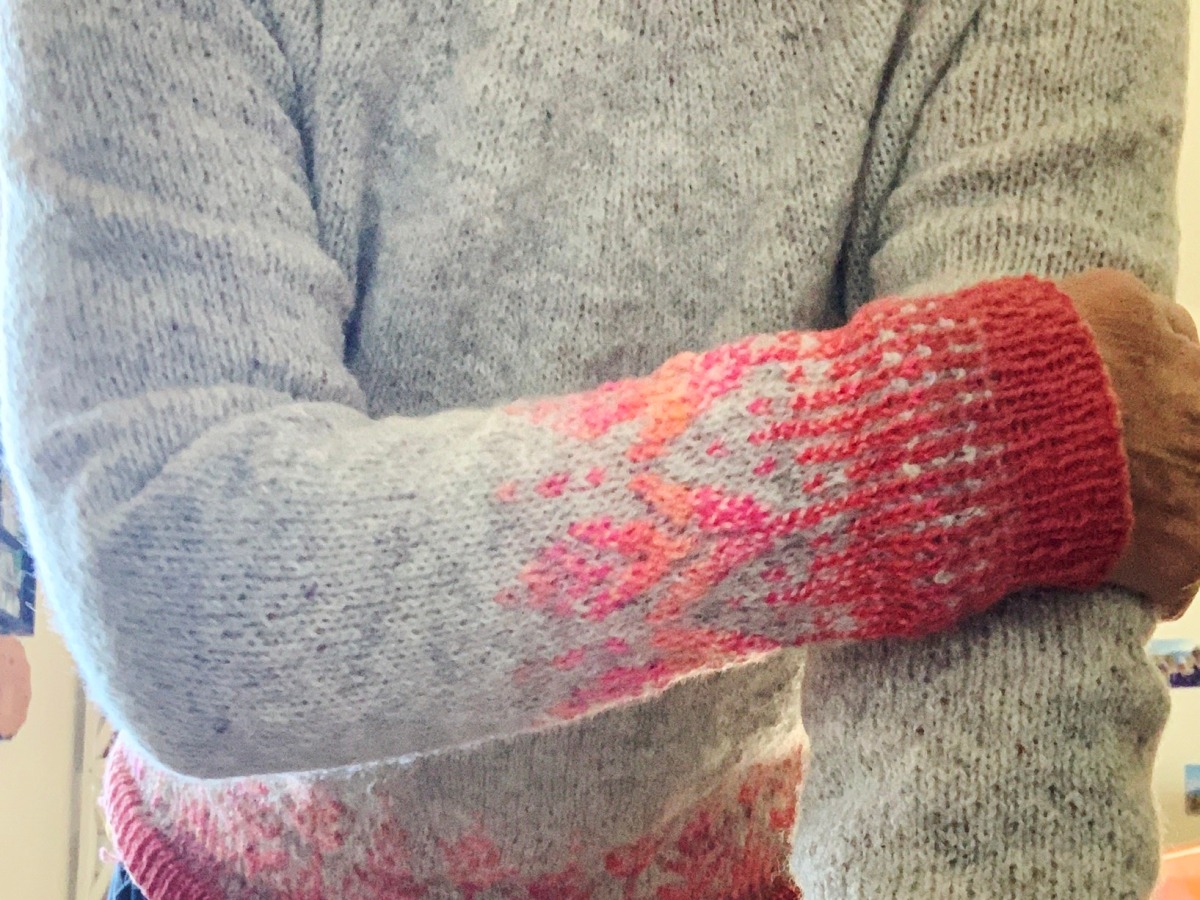
Second, there is an ugly pooling of colors on that sleeve. I had no idea at the time what “color pooling” was, but there it is. Hint: choose a solid color yarn. Even then, it’s a good idea to blend it when the skein is running low, but chances are it will look nice.

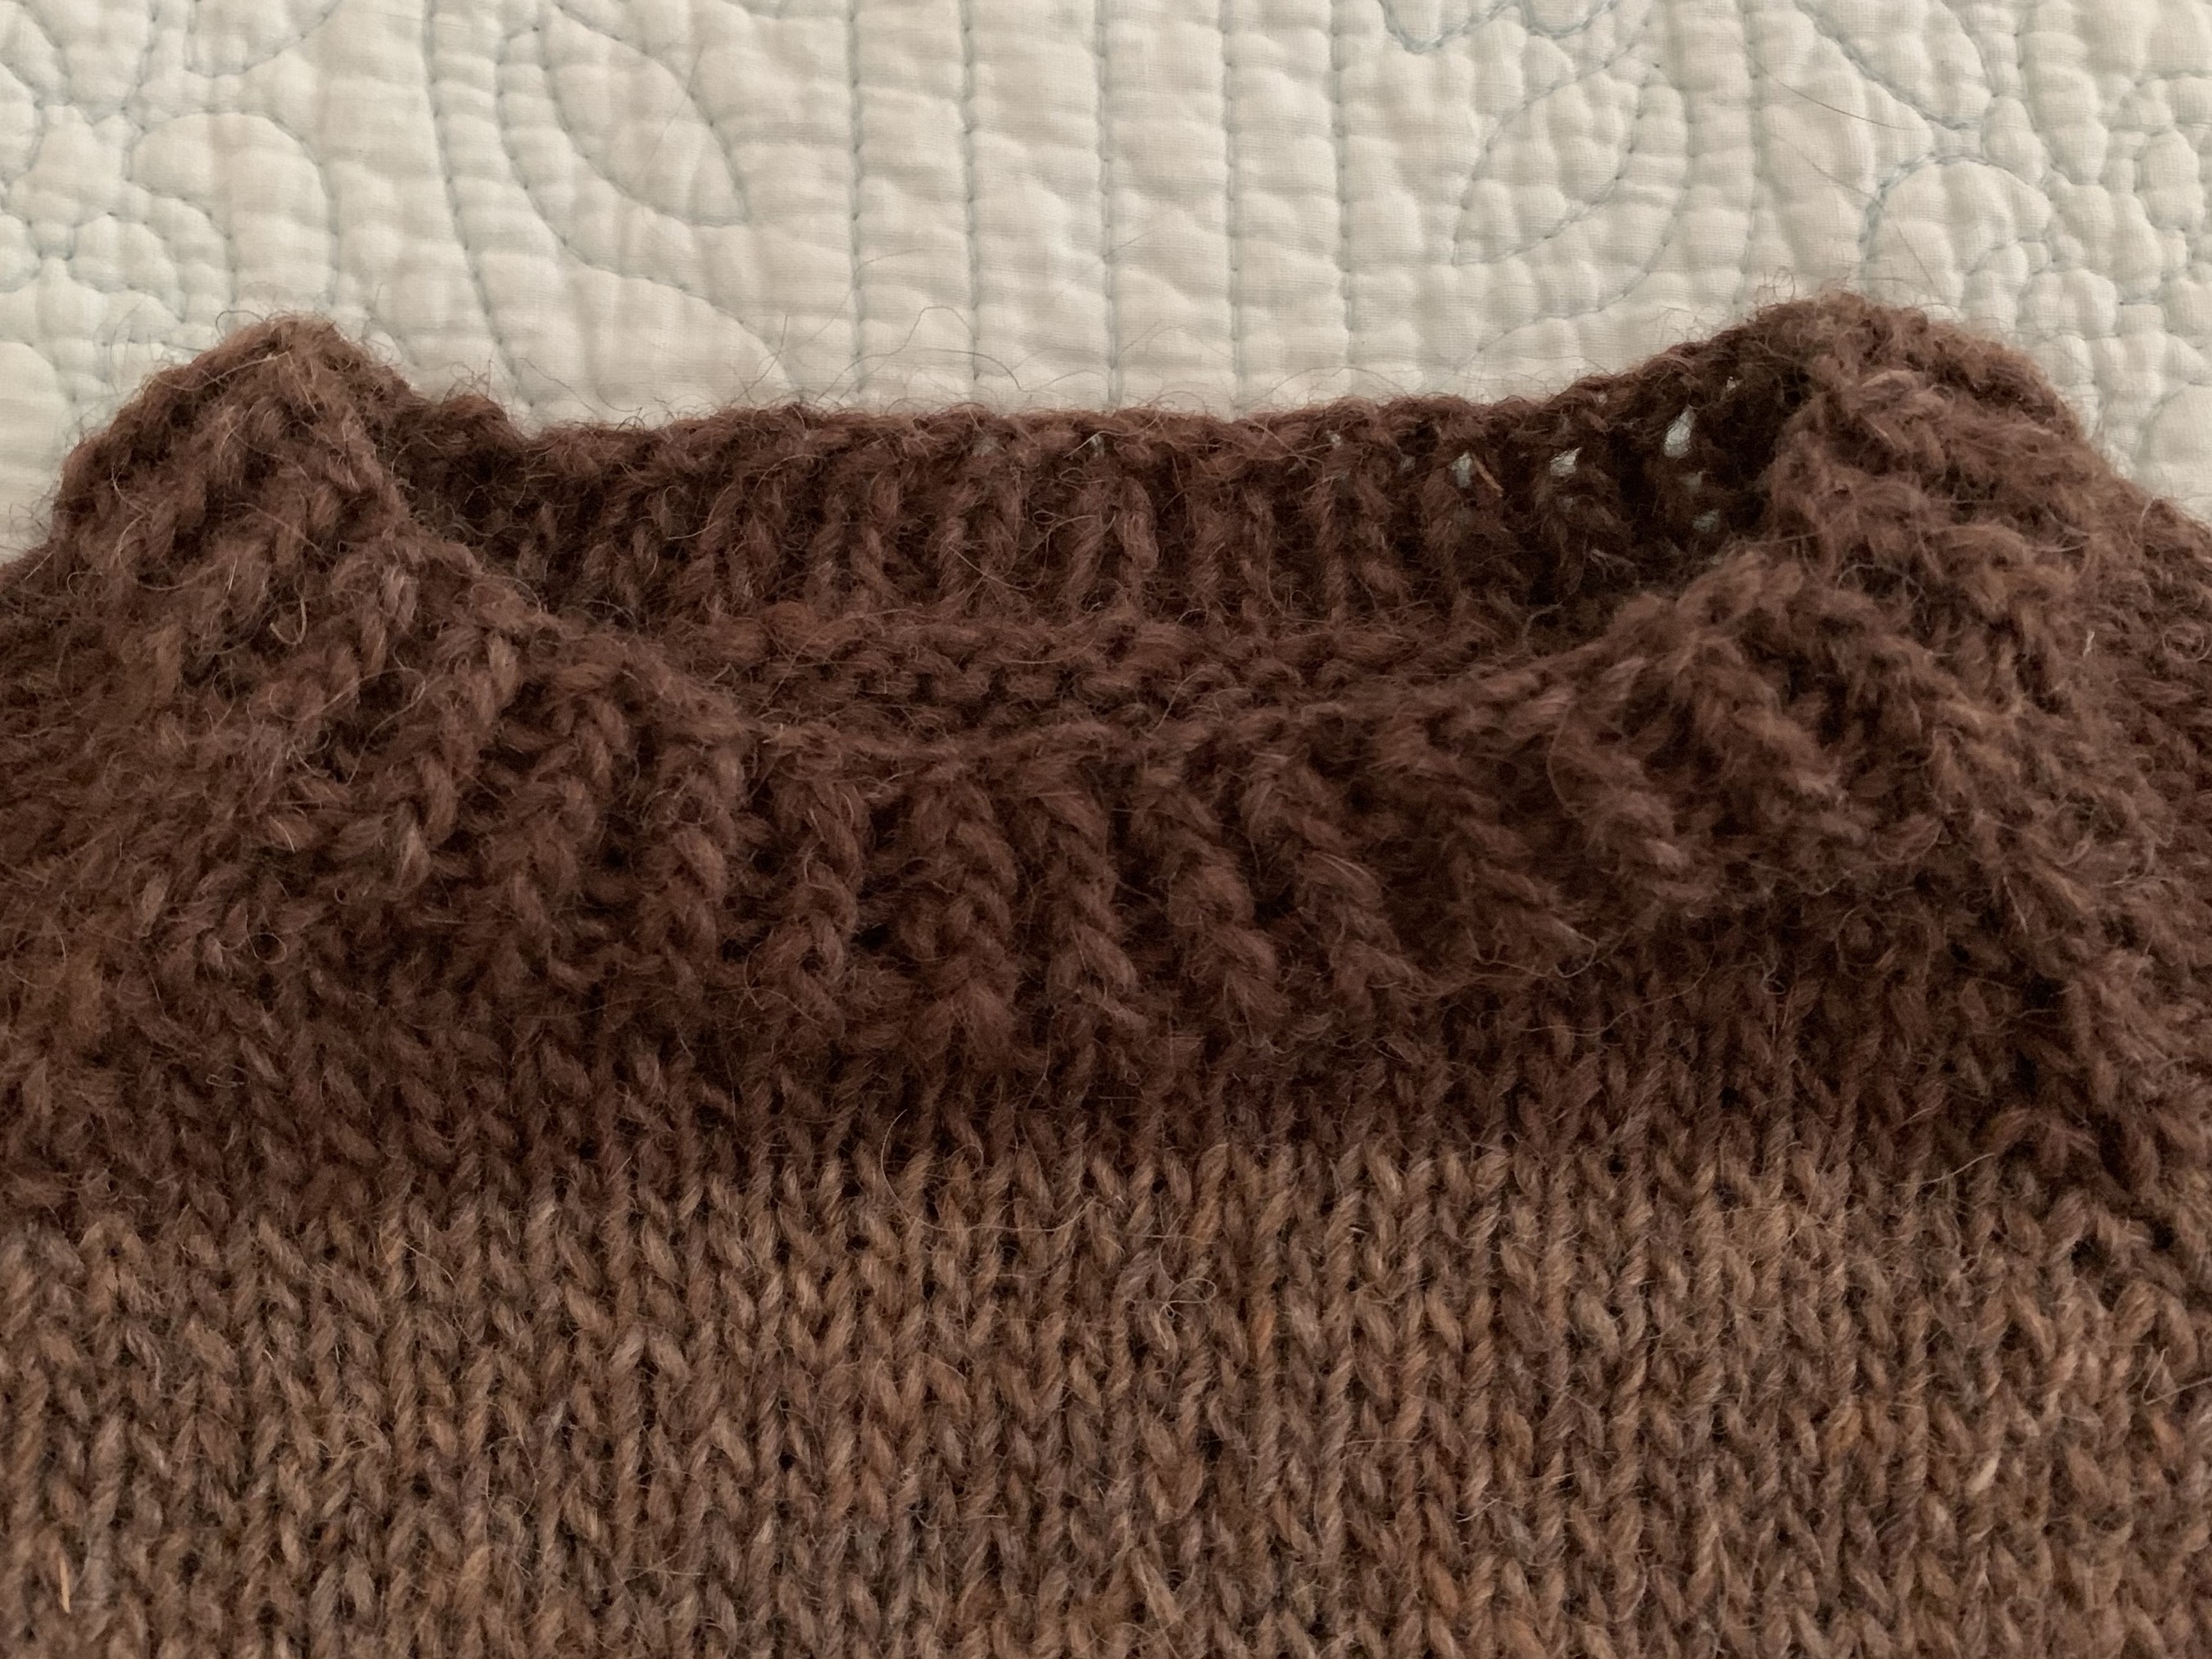
Third, the stranded colorwork on the yoke should have been knit in a larger needle so it would be smoother, and not pucker. Colorwork is generally tighter than plain old knitting.

It was fun to complete my first knitting project, but I decided to give the sweater away. I knew I would never wear it because it was so darn big! Live and learn.

The Expense of Sweater Knitting

I remember really wanting to knit a sweater. I did not have a clue as to the expense of doing so. The yarn is an obvious cost, and if you want a nice, cozy and comfy sweater made of non-acrylic yarn you will have to buy about 1,000+ yards of fairly expensive yarn.

If you have few to no knitting needles, you will need those too. Generally a sweater needs a circular needle large enough to hold all the body stitches. A size 32” length will usually work. Then there are the sleeves and neck. A 16” circular is needed for those, along with double-pointed needles (DPNs) for the small cuff circumference. Personally, I have some 9” circular needles to replace the DPNs.

If you have no needles, and need to find your gauge, buy only the long circular needle until you know if that size (not length, but needle size) will work for your project. If the pattern calls for a size 7 with a particular gauge but your gauge is too small or too large, another needle size is needed.

Sweater Knitting Terminology Explained

Good knitwear designers will describe their pattern before you even spend a penny. Whether the pattern is found on their website, or on their Ravelry page, the sweater sizes are listed (with yarn amounts needed), along with a description of how the sweater is knit. They give sizing, yarn types used, and often what special techniques will be used. From all that, the knitter will have an idea of amount of yarn needed – to figure price.

Knit Seamlessly – What does that mean?

Top-down sweaters are knit from the top down, and bottom-up sweaters, well – you guessed it. Often a designer will describe the sweater as “knit seamlessly from the top down / bottom up”. Seamlessly means the sweater is not knit in sections. There will be no side, or shoulder seams to sew together.

Sweaters that are not seamless will be knit flat in pieces that must be seamed together after the knitting is complete. Often sweaters with cables will be knit this way. For seamed sweaters, front and back pieces are knit flat (not in the round) and the pieces will need to be sewn together up the sides and at the shoulders. I’ve never knit a sweater like this.

Seamless sweaters are knit in the round (pullovers) or flat – back and forth (cardigans) and will have sleeve stitches that need to be put on hold because the body and sleeves are knit separately. You can’t get a way from that, unless your sweater is sleeveless!

Usually stitches are put on hold using a different yarn (called waste yarn). It should be thin, and not the color of your project. You will put all the sleeve stitches on hold with this yarn and have to pick up those stitches again later to knit the sleeves.

Examples of stitches “on hold”

Advantages of Knitting a Top-down Sweater

A top down sweater will begin at the neckline. The cast-on is done and the sweater expands out from there according to the pattern.

Usually, the back of neck shaping includes short rows, which you really want for comfort. Bottom up sweaters should also include this shaping and I highly suggest it. This raises the back so the front neck area won’t be high on the throat.

Gauging sweater length as you knit is the biggest advantage of top down. Most knitters will say that a top-down pullover allows for trying on as you go. Also easier to lengthen sleeves and body, or make changes to the bottom ribbing. I mostly knit top-down sweaters.

Anatomy of a Bottom-up Sweater

When a sweater is knit from the bottom up, often the body directions are given first. Some knitters suggest knitting a sleeve first and using it as a way to measure the gauge.

You need to know your gauge before beginning any sweater, and it needs to match the designers gauge as closely as possible. Swatching is not a waste of time!! Keep the swatch, with notes for yarn type and needle size, for future reference. I’m not getting into finding gauge here, but you must do it.

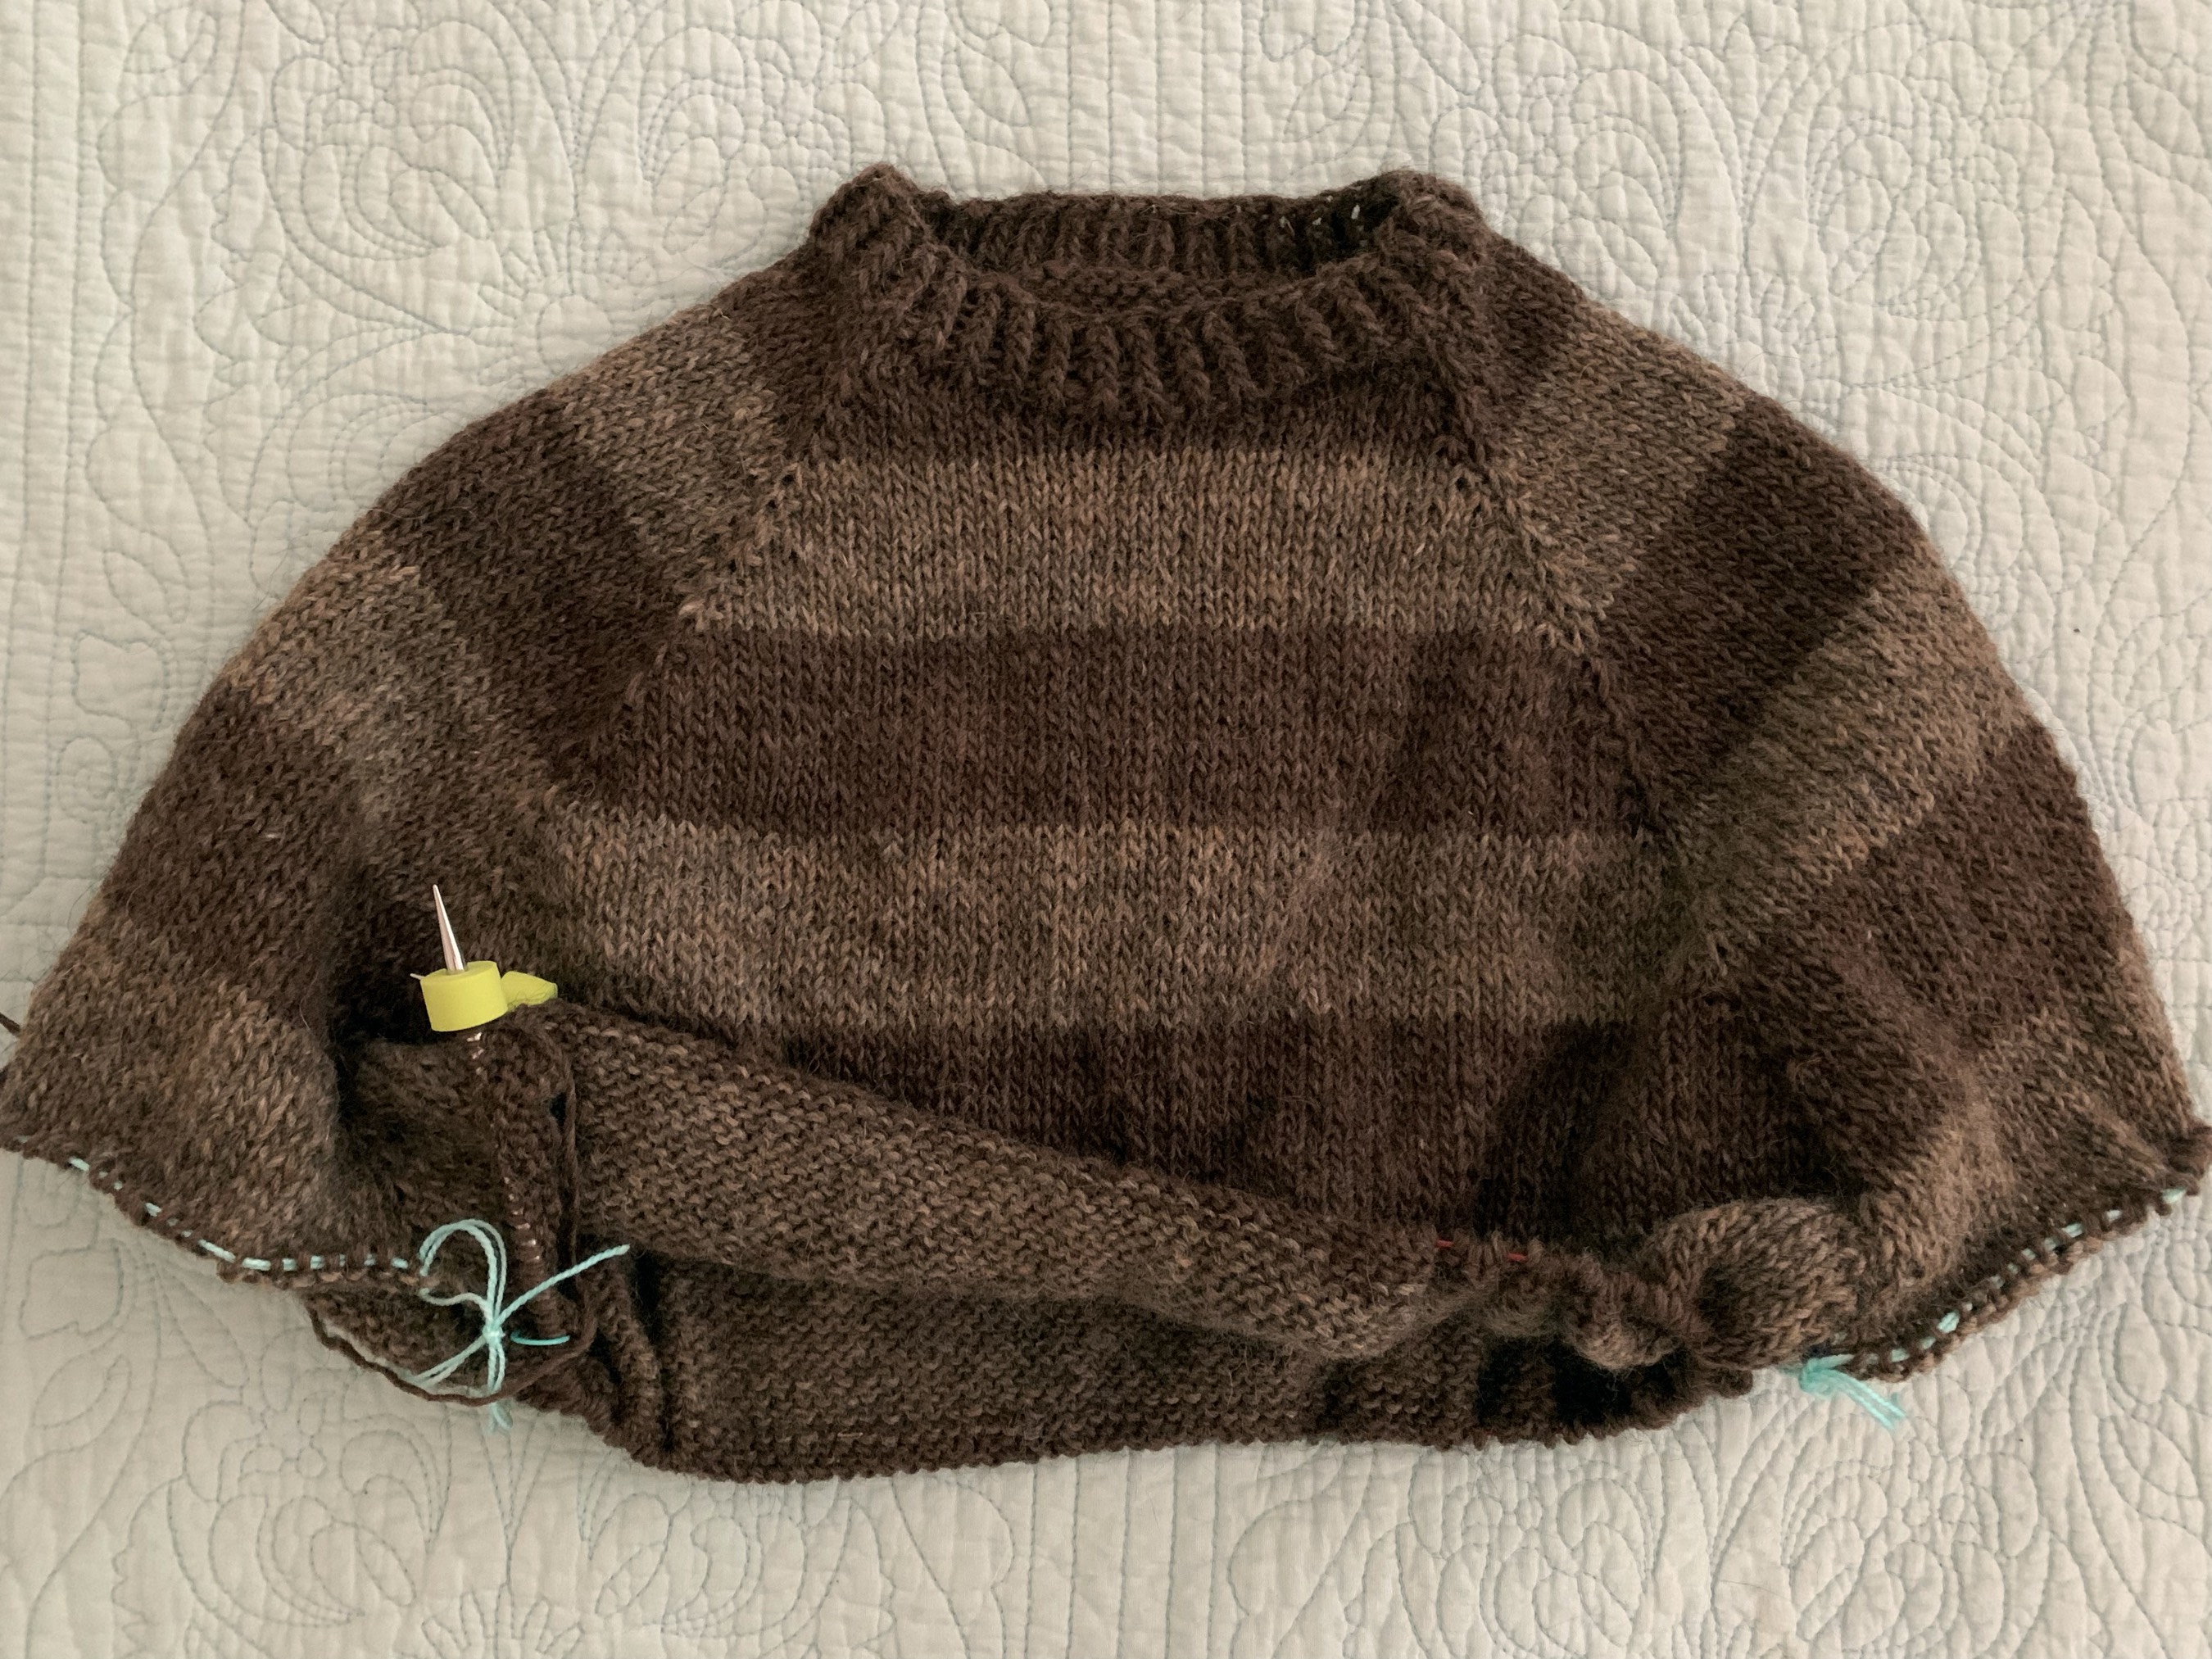
Once the body and two sleeves have been knit from the bottom up, everything is combined so the yoke and neck can be knit together. A sleeve is knit, then the front / back, next sleeve, and across to the BOR (beginning of round).

When it comes to attaching the sleeves to the body, sometimes drawing out a visual image helps me. Here is a drawing I did when it came time to attach sleeves and body on the Farfuglar sweater, which is knit bottom up. Does this make any sense to you?? LOL

joining body and sleeves drawing

Be Careful of These Things

After getting a number of sweater knits under my belt, I can tell you what I would avoid knitting. As a beginner, skip any pattern that includes some sort of lace or texture (see my failed Oxbow Cardigan). Use a simple knit and purl pattern. It can be boring, but there will be opportunity for expanding your horizons with short rows, make-one’s, and ribbing. Boring, one-color sweaters can end up being the best wardrobe staple!

If you have not done stranded colorwork knitting, avoid it in a sweater. Brioche is not something I can do even at this point, so I don’t recommend it for beginners.

If you are part of Ravelry, and read reviews of knitters, they will often say a pattern was “easy” and “quick” but take into consideration that those reviewers may have been knitting for 30 years longer than you have! Don’t believe all the reviews, and sweaters are never “quick”.

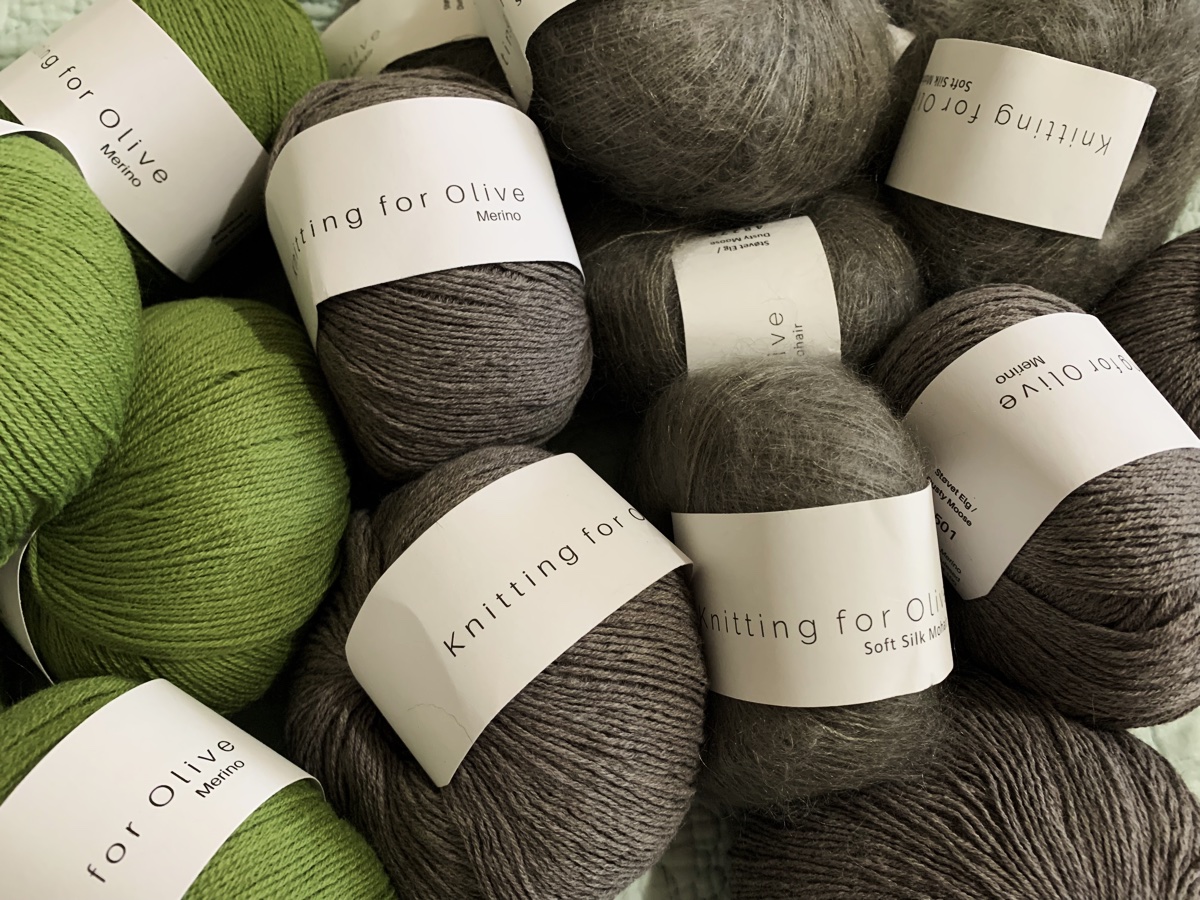
Know your yarn. In my humble opinion sweaters should be knit using wool. Isn’t a sweater for keeping warm? Use a pure, decent wool – worsted weight or fingering – they are out there. AND once the sweater is washed, it can change dramatically from scratchy to wonderful.

Sweater Patterns For Beginners

Now that I have knit a few sweaters of various styles, I’d like to share some favorites with you. One is baby size and is perfect for expanding knitting knowledge.

I’ve linked the sweaters to my blog pages where you can find notes and links that go to the pattern buying pages.

Clockwise above

  • Top down cardigan – Cobblestone in blue. No button band to do (they are hard), it is knit right in. Good first cardigan pattern. Runs large. (Uses a worsted weight yarn.)
  • Bottom up baby cardigan – Playdate by Tin Can Knits (fingering) Loved the uniqueness of this pattern, and because it’s small, a good practice piece.
  • *The Calliope pullover is a free pattern from Espace Tricot. It has some texture around the neck, but is a straight-forward design. One of my favorite patterns.
  • Top down cardigan (dark blue) – Fine Sand Pattern directions were a bit weird to figure out and lots of new (for me) types of increases were made around the top for shaping. I considered myself a beginner knitter at the time, and knit this just fine. There are no buttons or button bands to pick up.
  • * Warm Up Sweater by Espace Tricot, is a free pattern and very easy to knit. It is a favorite pattern, and I wear the big comfy sweater (knit with Lettlopi wool – thicker yarn, quicker knit) all through our cooler Florida winter mornings.

Please Keep Reading…

Honey Cowl Three in Mrs. Crosby Yarn

Infinity cowl pattern to knit for free.

This is my third knitting of the Honey Cowl pattern and this time I chose a lighter weight yarn. The free pattern is simple enough for a beginner to knit and gives a lovely textured project.

I’ve always made the longer version that wraps twice around the neck. This time I used Mrs. Crosby Satchel yarn in “Dogwood” color.

Honey cowl knit using fingering weight yarn in long infinity scarf project.
Honey Cowl

Because this yarn is one-ply and categorized as sport or fingering weight, I did a longer cast-on of 250 stitches. It turned out to be a good guess as it wraps nicely around my neck.

I hadn’t woven in the ends or washed the cowl before taking these quick photos. As you can see it is a good fit. I’ve had the yarn for years and it’s very soft. The Dogwood color is mostly off-white with some light blue mixed in.

The light color I chose helps to show the nice chain-type texture of this project. There is an obvious line where each row is begun so that needs to be remembered when wearing.

Want to Knit This Cowl?

To knit this cowl you must be able to cast-on and cast-off, knit, purl, and slip stitches. That’s it! Very simple.

Find the Honey Cowl pattern download on this Ravelry page. Personally, I like a long, infinity scarf, but there are directions for a single wrap version as well.

The Honey Cowl wrapped twice around my neck.
Double wrapped cowl

More From the Blog

Knitting The Hidden Gems Free Shawl Pattern

This free shawl pattern is simple enough for beginners to get practice.

If you are looking for a simple, free shawl pattern to knit, the Hidden Gems is recommended – pattern page link below. The pattern designer, Lindsey Wong, uses hand-spun yarn and I decided to use hand-spun from my yarn stash.

Hidden Gems shawl knitting

I have a few partial skeins of hand-spun and began knitting this pattern with the yellow, “coconut” – I think was the name. I knit until it was gone and then began alternating two different balls of hand-spun which gave a good color combination.

This pattern begins with a short cast-on at one end of the long triangle-shaped shawl, and expands outward. Once the center diameter is reached, the decreases are done on one side.

Because I was not using full skeins, I really didn’t know when to begin my decreases. I also don’t know how much yarn I used in total, but see the pattern for suggested yarn amounts.

My Shawl Knitting Notes

This is an easy shawl that should be fine for knitters who are just beginning their knitting journey. The cast-on is at the very end and the knitting expands outward until the widest part. Decreases along one side continue to create the other side of the triangle.

There is no purling, just garter stitch – knitting back and forth. Create increases and decreases for shaping. A self-striping yarn or solid color would work.

Stitches to know: K2tog (knit 2 together), SSK (slip, slip, knit), Kfb (knit front and back)

One stitch marker is needed.

I used a size 6US, 32-inch circular needle.

This lovely little shawl could be knit with any type of yarn. Just make it to the dimensions needed using an appropriate size needle.

The end measurements of my shawl are 58 inched long and 21 inches at the widest point. This ended up being a good size to wrap around my neck.

Find the Hidden Gems Pattern Here

Hidden Gems shawl knitting

More Free Patterns to Knit


More knitting pages to read…

Loading…

Something went wrong. Please refresh the page and/or try again.

Knit the Warm-Up Sweater – A Free Pattern

The Warm Up Sweater may be a perfect free pattern for a first time sweater knitter.

For those of us who have not knit a lot of sweaters – or knit them successfully – the raglan top-down style may be the easiest.

I’ve begun knitting the Warm-Up Sweater which is a free pattern (link to pattern below) of this style and is offered by Espace Tricot. This company is really wonderful about sharing free knitting patterns of all kinds.

See the Espace Tricot designer page at Ravelry.

The Warm-up sweater knitting pattern with collar and yoke complete

Anatomy of a Raglan Sweater

A raglan sweater is known for the increases done along the sleeve and shoulder area that dips down toward the underarm. You can see these stitches, that make a “line” on either side of the front. They are also on the back. The raglan style looks like four sections put together, but it is knit round and round. The knitting expands outward around the yoke and creates room for the sleeves.

This sweater pattern has a simple “knit through the back loop” increase but some sweaters do a pretty little cable or decorative area at these increases which looks very nice (Blueberry Vodka Lemonade Sweater).

A raglan is usually knit from the top down which makes it nice because it can be tried on as it is being knit – or at least pulled over the head. Raglans are usually pullovers but can also be cardigans.

What You Need to Know to Knit This Pattern

The Warm-up pattern – get it at Ravelry – begins with a cast-on at the neck. A few rows of a twisted rib is done and then some short rows. I love that this free pattern includes short rows. See my photo to see how the short rows raised the back of the neck. Sweaters need this shaping to fit comfortably. It is surprising to me that some designers, who sell sweater patterns, do not include short rows in their sweaters!

If you need more info about knitting the Short Rows for the Warm Up sweater, I have written a whole page about making the short rows.

Short rows raise the back

After that we get into the raglan increases which take place on either side of the sleeve / shoulder areas.

When the correct length and stitch number is reached, the sleeves are put on hold while the body is knit down to the correct length. A bottom ribbing is done and bound off.

Then each sleeve will be knit. Stitches at the sleeve area will be picked up from the waste yarn and the sleeve will be knit down to the correct length. Decreases are spaced to taper the sleeve shape. Do the ribbing and bind-off. Weave in ends, wash and block, and you have a new, hand-made sweater!

Is The Warm-Up Sweater Good For Beginners?

If you are a beginner sweater knitter, you may enjoy knitting this pattern. If you are a total beginner knitter, you should try something easier – a shawl, scarf, or hat – first. In other words, this is not a pattern for an absolute beginner. I say this because there is a lot to learn if all you can do is knit a little. I have mentioned in the section above what this pattern entails.

For those who want to step up their knitting game from the simple stuff, and are thinking about knitting a sweater, this one is perfect. The directions are very clear with stitch counts along the way to make sure you are on track.

Read through all pages and highlight numbers for your size before beginning – or go row by row on a knitting app. Also, if you’ve never done them, learn about doing German Short Rows – marked as “work GSR” in the pattern. Purl Soho has a good video. Follow the directions, row by row, and you will be fine.

You may even learn new and useful techniques along the way!

A Little Sweater Knitting Advice

If you are new to sweater knitting, first be sure to check your gauge. Yes, you must. Keep the little swatch as a reference. It is not a waste of time. The gauge required is listed on the first page of the pattern and also on the Ravelry Warm-Up pattern page. For more on gauge see my post here.

A few knitters had trouble with the cast-on number of stitches being too small, or too tight around the neck. I had no trouble, but would prefer a wider neck. I am knitting size 4 – or finished circumference bust size 49 inches. I used the Old Norwegian, aka German Twisted, cast on method, which is somewhat stretchy and had 68 stitches on my 16 inch circular needle. I suggest using this type of cast-on. See my page about different ways to cast on when knitting if you don’t know it.

My sweater is being knit in Icelandic Lettlopi wool. The Warm-Up is shown in worsted weight yarn, in solid colors with an option to do thin stripes. Of course you can use whatever yarn you want as long as you get gauge. I happened to have a lot of brown yarn and instead of doing a solid brown sweater, I opted to do wide stripes alternating the two browns.

Because my yarn is wool, I am doing a spit-splice every time I change colors or add a new skein of yarn. This is saving me from having to weave in many ends when the garment is finished.

spit splice knitting no ends to weave in
Wrong side – with no tails!

I am having fun knitting this simple sweater. Now that I am beyond the raglan increases, it is mindless round and round knitting that can be done in the car or in front of the television. All I need to remember is to change colors when it’s time (I am knitting 12 rounds of each color), and measure for length.

The needles I have used are size 7 and 8, 16-inch circular. Size 8, 32-inch circular (for the body). Then I switched to a 9-inch circular down the sleeve and for the ribbing at the cuff. DPNs can also be used, but I really don’t like using those.

On the sleeves, I picked up and began knitting with the 16-inch circular and changed to the 9-inch circular toward the end of the sleeve. I knit the ribbing in size 7.

Because I did spit-splicing throughout when changing colors, I only had 6 ends to weave in – one under each arm, at the neck, body rib and sleeve ribs…. pretty awesome!

Future Plans

If this sweater turns out to fit me well, I plan to make more like it with possible modifications. I almost made a rolled collar on this one, so maybe I will do so next time. It definitely needs to be wider for comfort.

For another time, some color-work could be added at the bottom near the cuffs on the body and sleeves. I’d go up a needle size to do that.

Finished Knitting

Now my striped sweater is drying. All I had leftover for yarn was two small skeins each of the dark and light brown. In all I used about 9 1/2 skeins, or approximately 1,031 yards.

I’ll try it on and get photos once it’s dry. Total knitting time was about a month and a half. See notes on my Warm-Up Sweater Ravelry page.


A final word. I’ve wasted money on some sweater patterns (from very popular designers) that had horrible directions – one I completely frogged when it was about 3/4 done! And one is pretty much unwearable.

This free sweater pattern is excellent, with good info and photos. I’ve knit other patterns by Espace Tricot and would love to shop with them, but they are in Canada and everything is more expensive. They are very kind and generous to offer us knitters such wonderful free patterns. Be sure to check out their store.

December at the Fire

The few cool days we have here in my area of Florida are much appreciated by me! I dig out my wool sweaters and make sure I wear them. It was also an opportunity to get a few selfies.

Warm Up sweater
Warm up sweater
Warm up sweater sleeve
12/2023

Please Keep Reading

Loading…

Something went wrong. Please refresh the page and/or try again.